When it comes to redecorating your house, one of the most important things to do is to ensure that the walls get a wonderful new coat of paint, so chances are you probably have a whole host of paint cans at the ready, but if you’ve never painted before you might be wondering, how do you actually open a paint can?
Initially, it might seem easy, but we can guarantee that if you’ve never had to do it before, trying to open it might prove to be much more complicated than you originally thought!
If you do it wrong, opening a can of paint can lead to a huge mess too, as well as wasted paint, so with the right tools, you should have no issues opening your cans of paint, just follow these easy steps!
Opening The Paint Can
Step 1
We’re going to go ahead and assume that you don’t have a dedicated paint can opener, and if you don’t, there’s no need to panic, as you can easily open a paint can by using tools you’ll have lying around your house!
One of the best things you can use is a screwdriver! You should try not to use too large of a screwdriver for this, and we recommend using one with a ¼ inch to a ½ inch tip for the best results.
Just be wary though that applying too much pressure to a screwdriver to open a paint can lead to the paint can lid becoming deformed, which makes it much harder to remove in the future!
Step 2
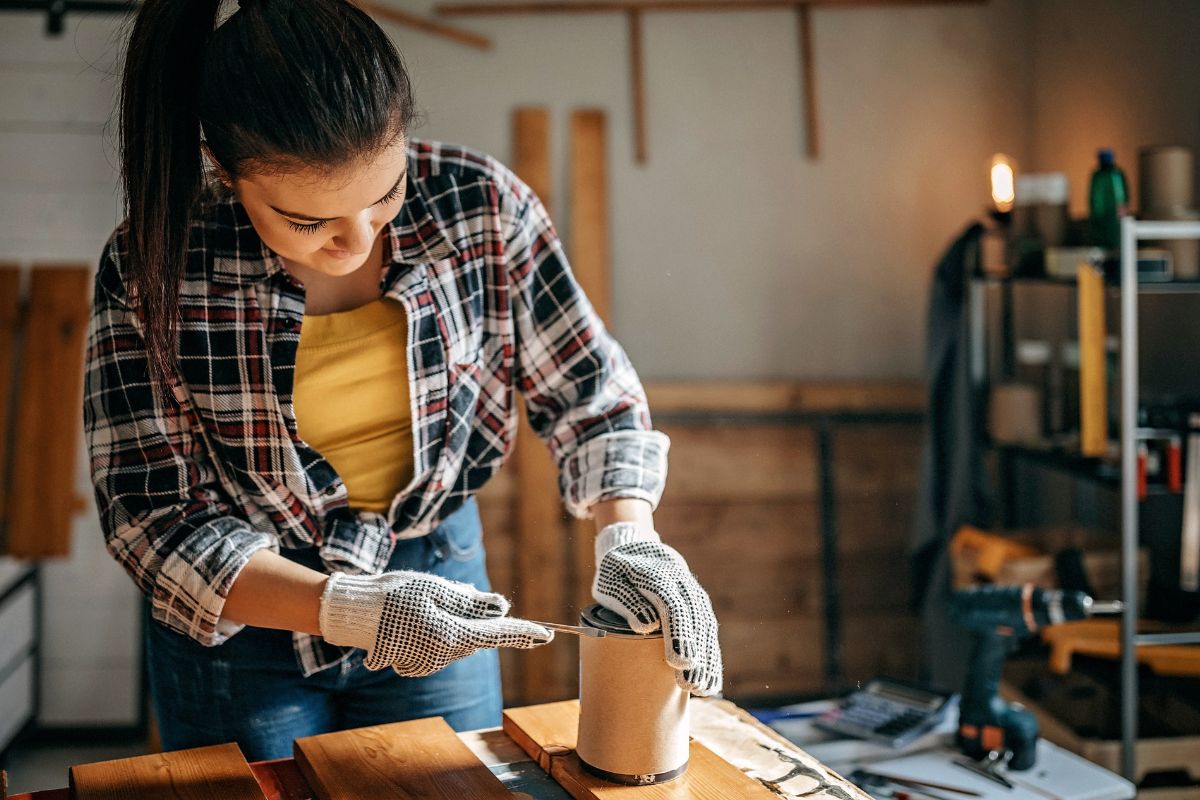
Begin by inserting the tip of your screwdriver just underneath the lip of the paint can lid, if you want slightly more leverage, then you can use the side of the screwdriver, we definitely recommend doing this, as it will make the task of prying the lid open much easier, and will prevent you from damaging the lid by applying too much pressure.
Step 3
In order to begin prying the lid open, you need to slowly begin to apply pressure to the handle of the screwdriver, with any luck, the lid of the paint can should then separate itself from the rest of the can.
This is a good sign, but it doesn’t mean that you can open the paint can just yet!
Step 4
Before you then rush to remove the lid as quickly as possible, it is worth noting that in order to maintain the proper shape of the paint can lid, you should go about removing the lid as gently as slowly as possible, as you won’t be able to reseal the paint can if you deform the lid, which means your paint will dry out and thus be ruined.
Instead, once you have started an initial separation between the lid and the paint can, you can then begin to move your screwdriver about ½ inch either side of the initial separation and begin to pry the lid again, repeat this process right around the rim of the paint can lid, ensuring to apply a firm but not an excessive amount of force.
You should do this regardless of whether your can of paint is new or old, as old cans might have rust around the edges of the tin that you certainly won’t want to end up in the paint, and opening the can this way allows you to avoid this from happening.
Step 5
Once the lid has been pried all the way around, you should then be simply able to take the lid off of the paint can by using your hands.
You should always place the lid on a flat surface, ensuring that you keep the paint side of the lid facing upwards to prevent any mess and to avoid it from sticking to any surfaces.
If any rust does end up finding its way into your paint, you can always make use of a paint strainer to remove it before you begin to decorate your house.
Step 6
If you don’t have a screwdriver to spare, a stiff putty knife with a 1 to 2-inch blade will work just as well, just follow the same steps in order to pry open the lid before removing it with your hands.
Ideally though, you should invest in a paint can opener, as this will make the process much easier, and will prevent you from messing up any of your other tools.
Closing The Paint Can
Step 1
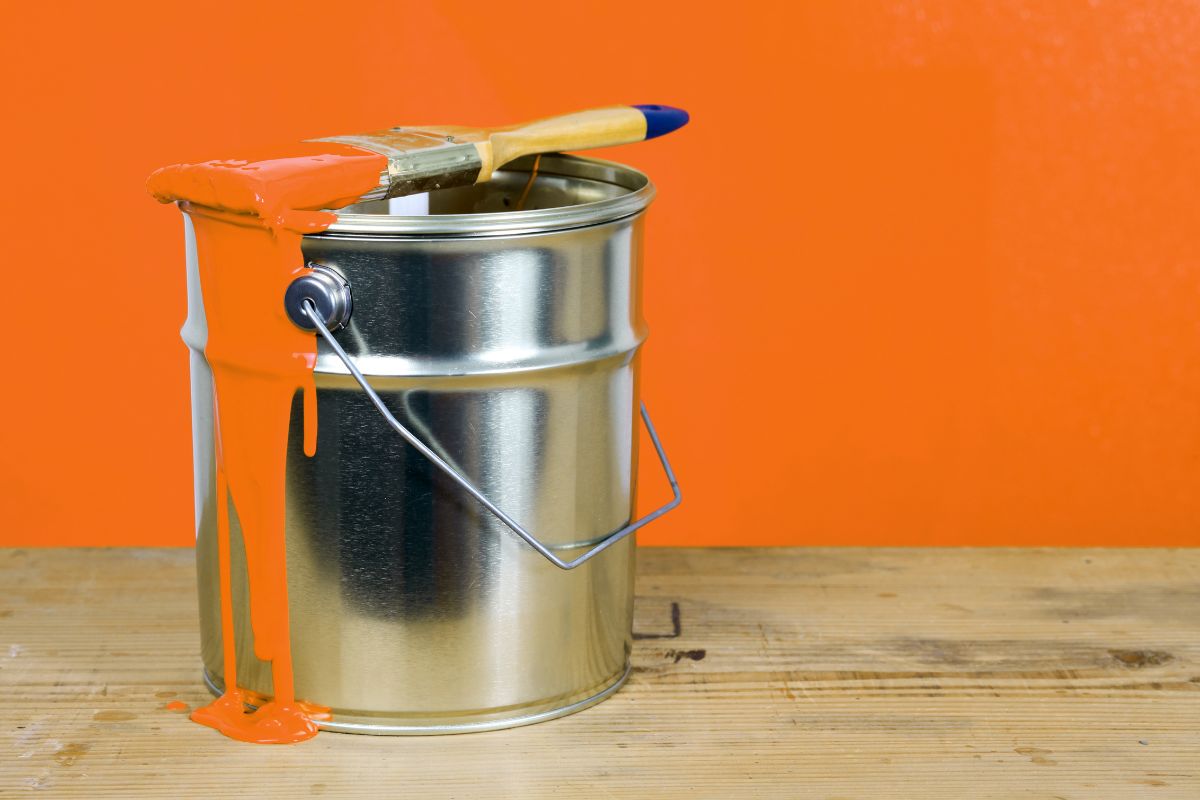
When you want to close the paint, you can simply use a paintbrush to wipe away any excess paint from the tin, as this will help to prevent your lid from getting coated in paint and sticking to the can, which will make it much harder to open when you need it next.
If you don’t want to use a paintbrush, you can always use a spare rag to wipe away any excess paint too, and then wash it or throw it away once you have finished.
Step 2
Then, place the lid back onto the paint can, ensuring that the paint side of the lid is placed facing towards the paint inside of the can.
Step 3
Once the lid is in place and you’re ready to close the can, use a hammer (or a rubber mallet if you don’t have a hammer around) to tap the lid back into its place, ensuring that you tap right around the rim of the lid to create a perfect seal, as this will prevent the paint from drying out.
Conclusion
As you can see, the process of opening a paint can is much harder than you might initially expect, but it’s also not complicated either, so if it’s your first time painting, you shouldn’t find it too hard to do!

Hi, my name is Joel Adams and I like to think of myself as a professional DIYer. Whatever odd jobs a person needs to be done around the house, I’m their guy.
I’m talking shelves, making sideboards and tables, painting feature walls… the list is neverending!
- How To Drill Into Brick? - October 31, 2022
- How To Repair And Refinish Hardwood? - October 31, 2022
- Floetrol – What Is It? When To Use It: Complete Guide - October 31, 2022