When it comes to doing DIY work, working with drywall is probably one of the least fun things you can do, however, it’s necessary if you want to make any improvements to your home at all, so it is important to learn how to work with drywall if you plan on making some improvements to your home in the future!
One of the most important things to learn to do with drywall is how to sand it properly.
Many people think that sanding drywall is an easy task, however, it is much more difficult than you might initially think, and can lead to you creating quite a mess in your home if you don’t prepare properly.
So, if you want to learn how to sand drywall properly, and learn more about working with drywall, then keep reading on as we teach you everything you need to know.
Part 1: Drywall Dust
One of the worst parts about sanding drywall is the dust that gets created, so in this section, we’re going to talk about how you can minimize this mess as much as possible.
Step 1
Sanding drywall powder can create a huge mess in your workspace, and because the mess is caused by fine drywall powder, it can get absolutely everywhere and be a nightmare to clean up, so the first step to preventing this mess from being made in your house is to place some drop cloths in your workspace, this will prevent you from having to sweep or vacuum after you’ve finished sanding!
Step 2
Another step you’re going to want to take whilst sanding drywall is to ensure that you have plenty of ventilation in your workspace, the simplest way to do so is to just open up the windows in the room you’re working in, but you can also add box fans in windows facing outwards, which should help to blow any dust out of the room.
However, you should make sure that your air conditioning or heating unit is off, as this will lead to dust traveling to other parts of the house. Blocking off the return air vents is a good idea too, even if the unit isn’t on to begin with.
Step 3
You should also be sure to cover any furniture in the room too, that’s if you can’t remove it from the room in the first place.
Covering it will prevent any dust from burying its way into the furniture, and it’s much less effort than cleaning it!
Step 4
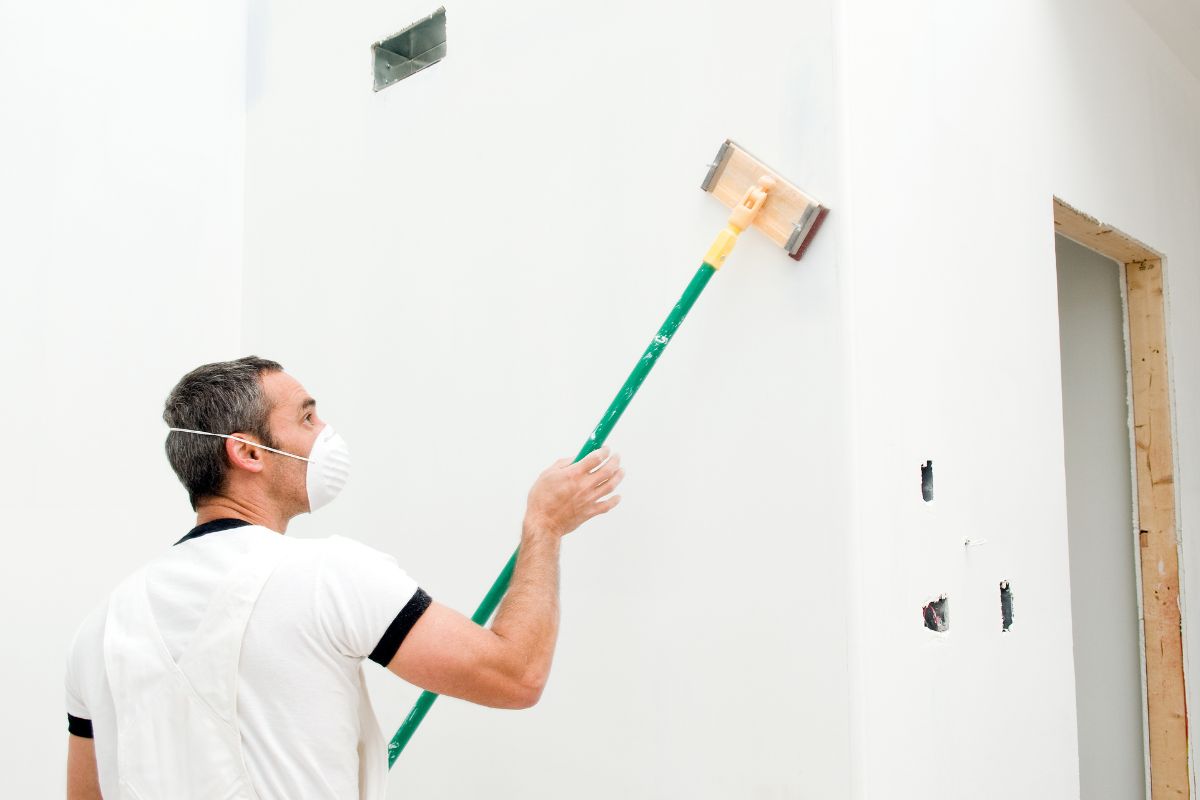
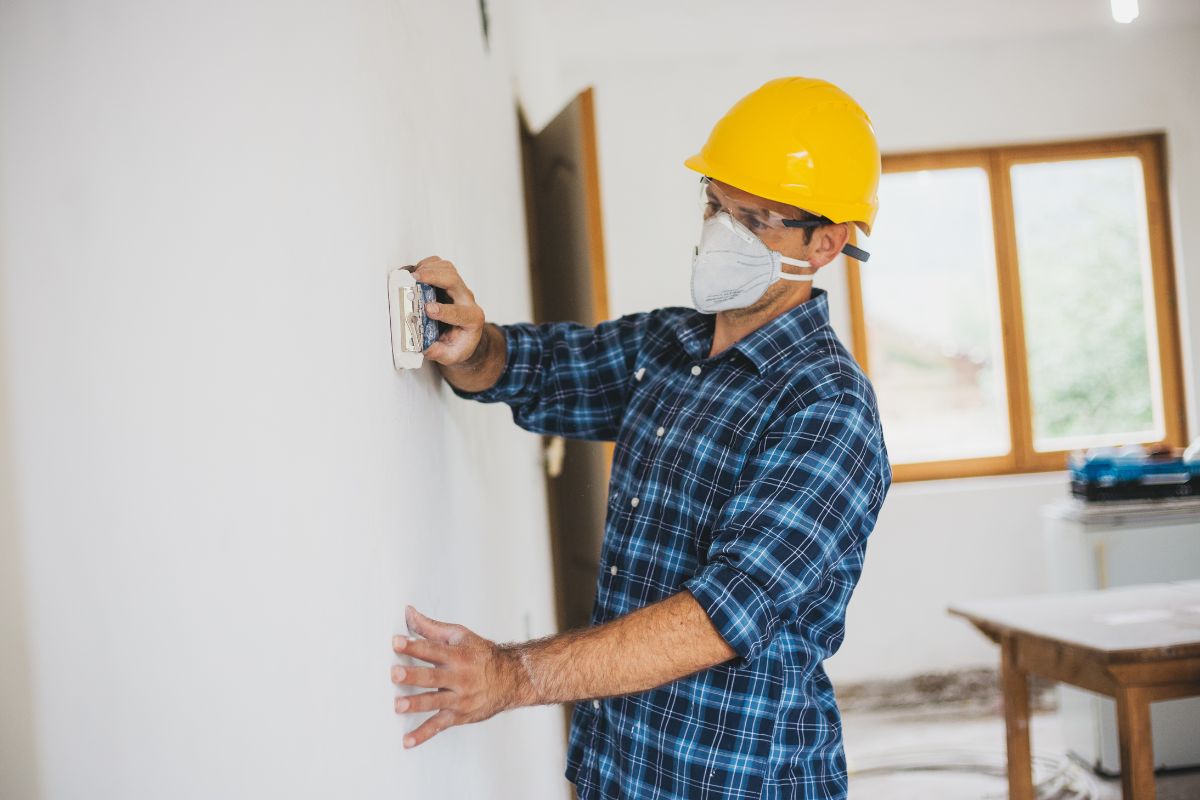
The last step before you sand is to protect yourself too, you should be wearing safety glasses and respiratory protection too, as dust can be extremely harmful to your lungs, just make sure that the mask you’re planning on using has been approved for use with drywall.
A hat is also a good idea too, as dust likes to settle in your hair, and it can take days to come out again!
Part 2: Workspace
Step 1
The first step for a good workplace is adequate lighting, so you’re going to want to ensure that you have a large light or lamp to shine on the edge of the wall, as this will allow you to see any imperfections or rough patches that need to be sanded.
Natural light is better, but if your room doesn’t get much natural light, a well placed light will suffice.
Step 2
You should check that the drywall is actually dry before you go ahead and sand it, so check to ensure that the color is even throughout, as this is the biggest indicator that the drywall hasn’t finished drying yet.
Step 3
A stool or a stepladder is needed if you can’t reach the top of the wall, as you’ll need to work from top to bottom in order to make sure that the dust doesn’t fall on a patch that you’ve already done!
Part 3: Sanding
Step 1
You’ll want to ensure that you have removed any excess mud or compound that is still on the wall, but sanding paper won’t work on this, so instead just make use of your drywall knife, doing this before you sand will make the process a lot easier.
Step 2
You should start the sanding process by using a sanding sponge to taper, start in the corners where the walls meet, and then begin sanding outwards in order to taper the mud down the wall.
So begin with nice broad strokes, and then transition to outward strokes towards the edge of the mud.
Step 3
This is the time to go over any screws, and you can use either a sanding sponge or just full sandpaper in order to even them out.
Step 4
Your next job is to tackle the seams where the drywall meets, so take some 220-grit sandpaper in order to even out these seams, starting with big strokes back and forth to start, and then smooth it all over with the sanding sponge.
Step 5
You want to make sure that you’re not applying too much pressure whilst sanding, as you’re only trying to smooth over the bumps and rough patches, and remember that there’s no need to sand the low parts, as you can always fill them in with more mud.
Step 6
If there’s any loose dust, quickly use a dry paintbrush to remove it from the wall to prevent it from going into the primer whilst you’re painting.
Step 7
Use an appropriate vacuum, such as a Shopvac, to clear up any dust hanging around the room and from the drop cloths outside of the workspace.
Conclusion
We hope you’ve enjoyed our guide to sanding a drywall, and although it’s a tiresome process, the results are worth all of the effort, we hope this has helped, and good luck with your project!

Hi, my name is Joel Adams and I like to think of myself as a professional DIYer. Whatever odd jobs a person needs to be done around the house, I’m their guy.
I’m talking shelves, making sideboards and tables, painting feature walls… the list is neverending!
- How To Drill Into Brick? - October 31, 2022
- How To Repair And Refinish Hardwood? - October 31, 2022
- Floetrol – What Is It? When To Use It: Complete Guide - October 31, 2022