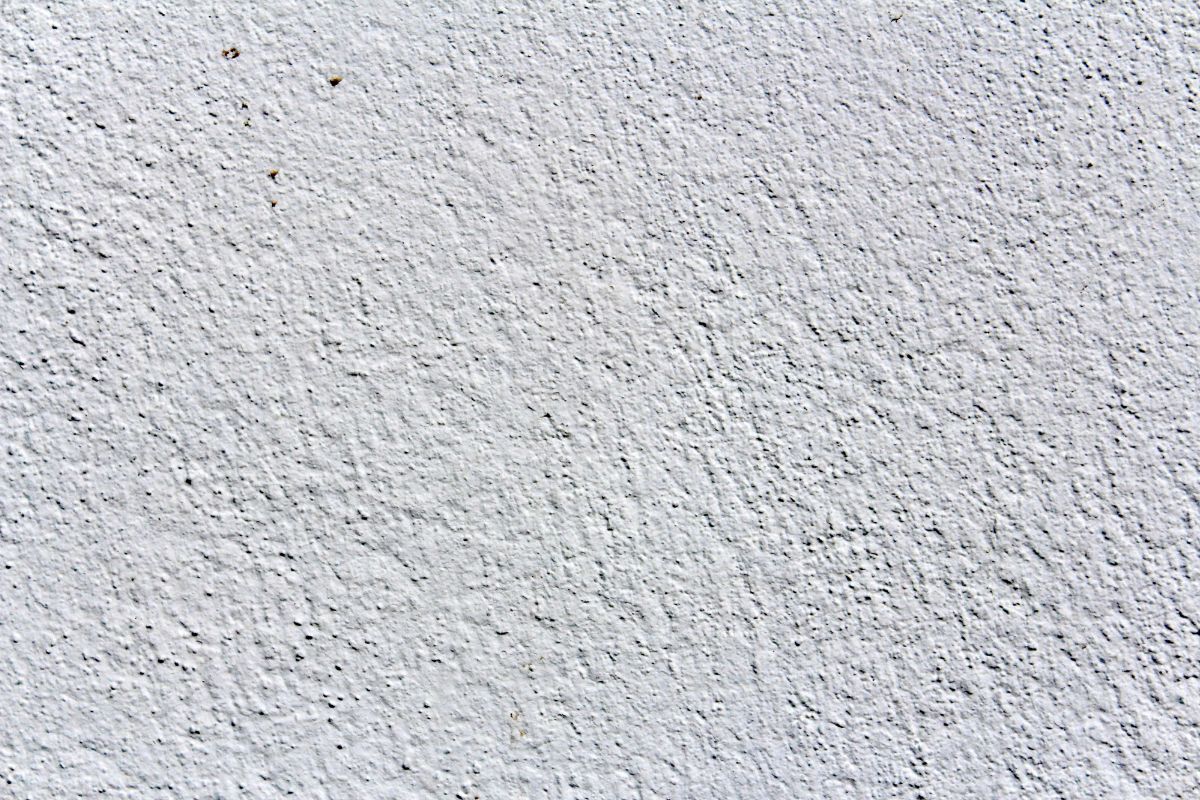
Textured walls have long been a popular decorating choice and they’re becoming popular in decorating circles once more.
They’re a great and easy way to add some character and some depth to a room and work with any colored wall.
As well as being an aesthetic choice, textured walls can also provide a quick and easy way to finish a drywall.
You don’t need to worry about making your walls perfectly smooth and it dries quickly enough to be painted over in only a couple of hours.
Whatever your reasons for opting for a textured wall, thankfully, this is an easy task. It can take several hours to complete, but even novices can texture their own walls.
In this article, we will explain how to texture a wall.
Equipment And Materials You’ll Need
Before we begin our step-by-step guide, we’ll list all of the equipment and materials you’ll need.
- Paint
- Drywall compound
- Flat paint/drywall primer
- Painter’s tape
- Paint tray
- Paintbrush
- Paint roller and cover
- Drill and paint mixer attachment
- Drop cloths
- Drywall knife
- Plastic sheeting
- Five-gallon bucket
Once you have everything you need, you can begin to texture your wall.
How To Texture A Wall
Remember that texturing a wall is going to be a messy job and you’re likely to get wet texture material splashed around.
We would recommend removing as much furniture from the room as possible and covering every surface with drop cloths or plastic sheeting. This includes the floor, doors, and other walls.
Now let’s get into our step-by-step guide.
1. Patch Your Surface
Although your wall surface doesn’t need to be perfectly flat and level before you begin to texture it, it should be free of any holes or chips.
Make sure that you patch any noticeable damage or imperfections in your surface with either a lightweight spackle or some of your drywall compound.
You should use a drywall knife to make sure that the compound gets deeply into the holes. When the holes have been filled, use your knife again to smooth the compound flat.
You don’t need to ensure that the compound is perfectly neat once the hole is filled as a little texture is fine. Don’t worry about sanding any excess as the flat of your knife should do a decent enough job.
2. Prime Your Surface
If you want the best and easiest results when you texture your wall, you will need to prime your surface for the drywall compound first.
The best products to use are either a drywall primer or a white latex wall paint.
This is an important step and shouldn’t be missed. If you don’t prime your walls first, the texture paint that you apply to the drywall will be absorbed by the wall surface instead of adhering as it should.
This means you’ll need more paint and the results won’t be as good.
3. Mix The Texture Compound
Leave your primer coat to dry. Your next step is to apply the wall texture compound itself and there are a couple of options here.
Of course, you can buy textured paint that has been premixed from your local hardware store.
There are several brands available to choose from and we recommend either Behr Premium Plus Texture Paint or Sheetrock Texolite.
These paints will have full instructions on how they should be prepared so make sure that you follow these.
However, you can also make your own wall texture material and this is pretty easy to do. All you’ll need is some drywall compound and water and they should be mixed in a ratio of four parts drywall compound to one part water.
This is easily mixed in a five-gallon bucket and by using a paint mixer attachment attached to your drill.
You should mix the compound and water until it becomes the consistency of a thick latex paint. It should be thick but smooth and easy to work with.
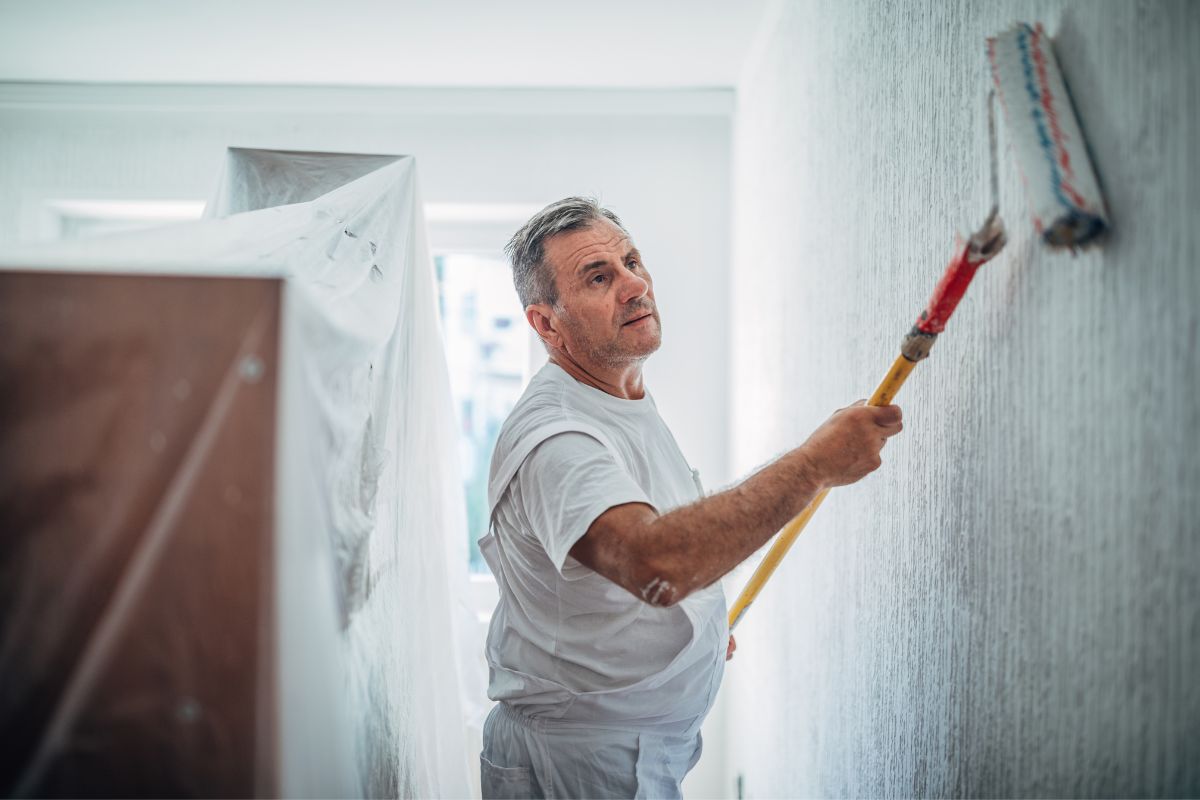
4. Roll Out The Wall Texture
With your wall texture material prepared, you can now see about getting it on the walls. The easiest way to cover large surfaces is by using a paint tray and roller.
You can apply it in a very similar way to paint as you just dip your paint roller into the material, roll it, and then apply the wall texture material to your surfaces.
An ordinary paint roller will do the job fine but there are also roller covers you can buy especially for the purpose of adding wall texture.
You may want to buy one of these if you’re considering texturing more walls in future.
5. Use A Brush For Details
Rollers are handy for large surfaces but they aren’t the most convenient for corners or those tricky areas around door or window frames.
For these, we would recommend using a paintbrush. Use the flat face of the brush instead of the bristle tips where you can.
6. Apply A Second Coat
When using premixed wall texture material, you may only need one coat. However, we would recommend using two coats if you followed our instructions for mixing your own material.
You will need to apply an initial coat and then wait for it to partially dry before applying a second. This first coat shouldn’t be left to dry completely so don’t leave it too long.
By applying the second coat before the first is completely dry, you’ll pull up some of the partially dried material from the first coat.
This will give you a deeper texture and a better effect. Use the roller where you can and again, use a paint brush for the more difficult to reach places.
Once the wall texture material has dried completely, you can prime and paint the walls if you need to.
Final Thoughts
In this article, we detailed a step-by-step guide on how to texture a wall. We detailed the equipment and materials needed and all of the steps you need to take to make a beautifully textured wall.

Hi, my name is Joel Adams and I like to think of myself as a professional DIYer. Whatever odd jobs a person needs to be done around the house, I’m their guy.
I’m talking shelves, making sideboards and tables, painting feature walls… the list is neverending!
- How To Drill Into Brick? - October 31, 2022
- How To Repair And Refinish Hardwood? - October 31, 2022
- Floetrol – What Is It? When To Use It: Complete Guide - October 31, 2022