If you’re great at DIY and want to build your dresser but don’t know where to start, then don’t worry!
We’ve got you covered!
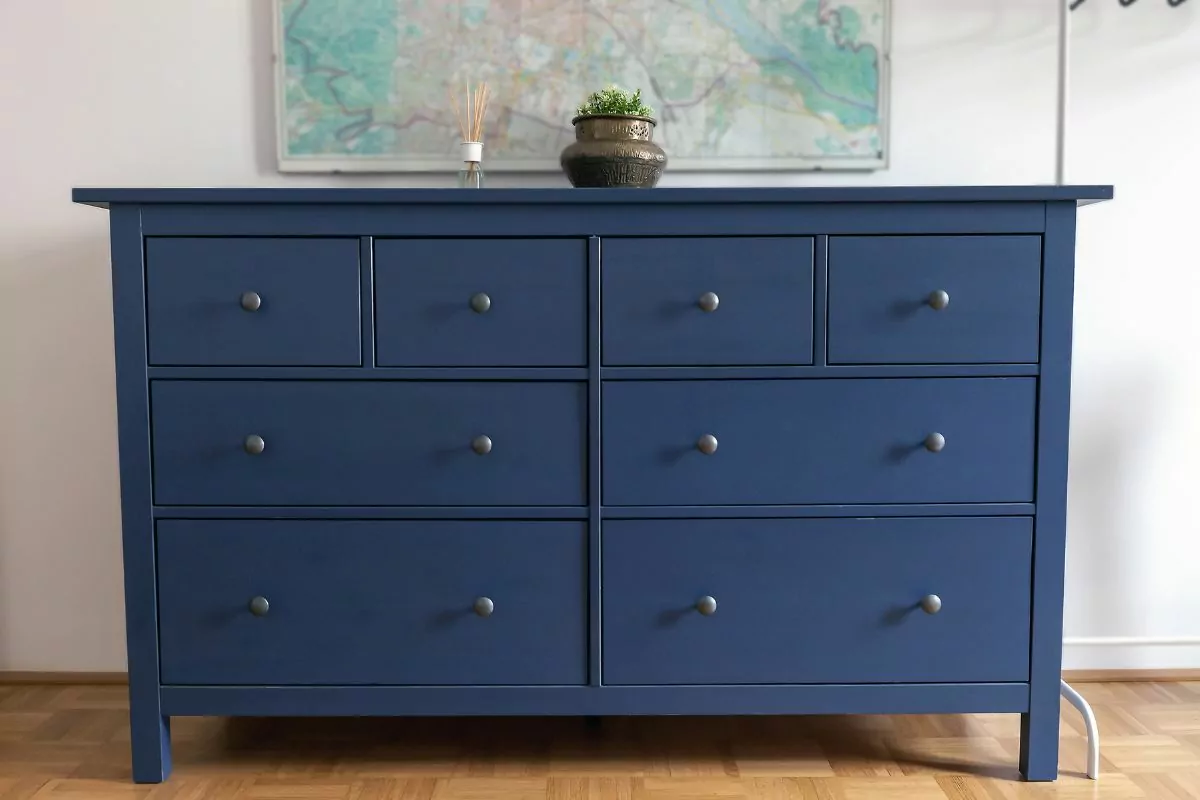
A dresser is an important part of any bedroom; it’s perfect for storing clothes, accessories, and anything else that you want to keep tucked away.
And by making it yourself, you can tailor it to your style and specifications so you can make the perfect dresser for your bedroom.
To help you start building your own dresser, we’ve put together this step-by-step guide with everything you need to complete this satisfying DIY project.
Materials
Dresser Frame
- 3/4 inch thick wood panels or 3/4 inch plywood
- Two (2) 16” x 50-1/4 inch for the sides
- Three (3) 16” x 29-3/4 inch for interior horizontal supports
- Two (2) 16” x 8-1/4 inch for interior vertical supports
- Two (2) 16” x 31-1/4 inch for the top and bottom sections 1×2 lumber
- Four (4) cut to 29-3/4 inch
- Four (4) cut to 21-1/2 inch
Drawers
- 1×6 lumber: Twelve (12) cut to 14”. Four (4) cut to 5”. Eight (8) cut to 27-1/4 inch
- 1×3 lumber: Eight (8) cut to 14”. Eight (8) cut to 19 inch
- 1/4″ plywood: Four (4) cut to 14” x 20-1/2”. Four (4) cut to 14” x 28-3/4 inch
- Two (2) cut to 14” x 6-1/2 inch
Drawer Faces
- 1×4 lumber: Four (4) cut to 21-1/4 inch
- 1×8 lumber: Two (2) cut to 8 inch
- Four (4) cut to 29-1/2 inch
Tools
- Right angle clamps
- Regular clamps
- Ten (10) sets of 14 inch European style bottom corner mount drawer slides
- Wood glue
- 1-1/4 inch pocket hole screws
- 5/8 inch and 1-1/4 inch brad nails and nailer
How To Build A Dresser: Step-By-Step Guide
Before You Start
Step 1
Before you start building, be sure to plan everything out. Draw out your dresser, detailing measurements on every section.
Step 2
Label each of your pieces. This will make it much easier to assemble later.
Write on each one which direction they go, which piece they are, the measurements, and so on. You can sand this writing away later so don’t worry too much about how much you write.
Step 3
Taking one of the 50 1/2 inch panels, mark the lines on the inside side panels for horizontal supports.
Be sure to use a square measure for straight lines, and to write an “X” on the outer side of each piece so you know that it’s the right way when assembling.
Step 4
Use your 29-3/4 inch horizontal support panels and add pocket holes at an angle.
Then, add pocket holes to your two smallest wood panels, making the holes on the longer side of the panel.
Step 5
Use panels with a thickness of 29-3/4 inches, pocket-hole side down. Then mark a line 7-1/2″ away from one side.
Write “X”‘s on the opposite side of the line, then duplicate the same for the other line.
Assembling Your Dresser
Step 6
Place an 8-1/4″ panel along the line of your 29-3/4″ slab, with the pocket holes facing the short end.
Add wood glue to the shortboard and reposition it if it looks good. You can clamp and screw it down after you glue it down.
Step 7
Make a mark starting from the dresser’s end using a 3/4″ board.
After that, put the first of the 14-inch European bottom corner mount drawer slides into the corner you just created before repeating this process on the opposite side.
Step 8
Measure and mark 7-1/2″ in from the right side of the third 29-3/4″ slab’s non-pocket-hole side.
On the other side of the line, screw in the second 8-1/4-inch slab and glue it in place.
Slides should be attached as before.
Step 9
Attach the drawer slides to the long right side slab at the 8 3/4″ line using the 3/4 board method.
On the top and bottom of each of your two side panels, drill three pocket holes.
Step 10
Join the sides to the top and bottom slabs.
Apply wood glue to the side slab’s plywood panel’s bottom using a brush.
Place the piece in a clamp, then add the pocket screws. Repeat the same process for the other side.
Step 11
Incorporate your horizontal support boards into the framework, paying attention to how each piece is facing.
The pocket screws can now be tightened.
Make sure to fasten any pocket screws that the drill cannot reach with a screwdriver.
Step 12
Drill holes in each board, then fasten them. Make sure the sides of your dresser are level by checking them.
Step 13
Install all of the drawer slides, ensuring you have the 3/4 inch space behind them.
Step 14
Now, you can start on your drawers.
The front and back sides of each drawer will be fastened between the ends of the 14″ sideboards.
Therefore, on each side of the front and rear boards, drill two pocket holes.
The first drawer should be added using the same pocket hole method, followed by each subsequent drawer.
Step 15
Apply glue on 1/4′′ plywood and join the drawer bottoms to it. The plywood then can be fastened with a nail gun.
Step 16
Until the dresser’s base and skeleton are complete, attach the mounts and the drawers.
Step 17
Make sure the faces are a perfect fit. On both sides, there should be a 1/8″ space.
Mark the location of the vertical portion of the drawer slide by laying them face down beneath the drawer.
Step 18
Make the drawer faces first. Take out each drawer and fill it with glue. Close each drawer with a clamp.
Next, fasten each piece facing down. Keep going till the faces are secure.
To Conclude
Once you’ve completed your dresser, you can sand it, address any imperfections, and paint it exactly how you like!
With this guide, you’ll have your own DIY dresser in no time.

Hi, my name is Joel Adams and I like to think of myself as a professional DIYer. Whatever odd jobs a person needs to be done around the house, I’m their guy.
I’m talking shelves, making sideboards and tables, painting feature walls… the list is neverending!
- How To Drill Into Brick? - October 31, 2022
- How To Repair And Refinish Hardwood? - October 31, 2022
- Floetrol – What Is It? When To Use It: Complete Guide - October 31, 2022