When you are doing a DIY project by yourself or with help from some other hobbyists, there will come a time when you have to make cuts into something, and you just don’t know how to do it.
This is often for very finicky work that requires a lot of time, patience, and a gentle touch – like when you are cutting pipes to the right length – but other times it is because the material is just really bizarre.
This is often the case when people are cutting foam. While foam is an incredibly useful material, describing it as bizarre is very apt – if you can think of any other material in nature like foam, we’d like to hear of it and see for ourselves before taking back our statements.
As such, you want to cut it the right way, which we are going to talk you through today.
What Is Foam?
Before we get into the meat of the article, we will take a few moments to briefly discuss foam in case people are getting confused about why we are putting a weird substance in our homes.
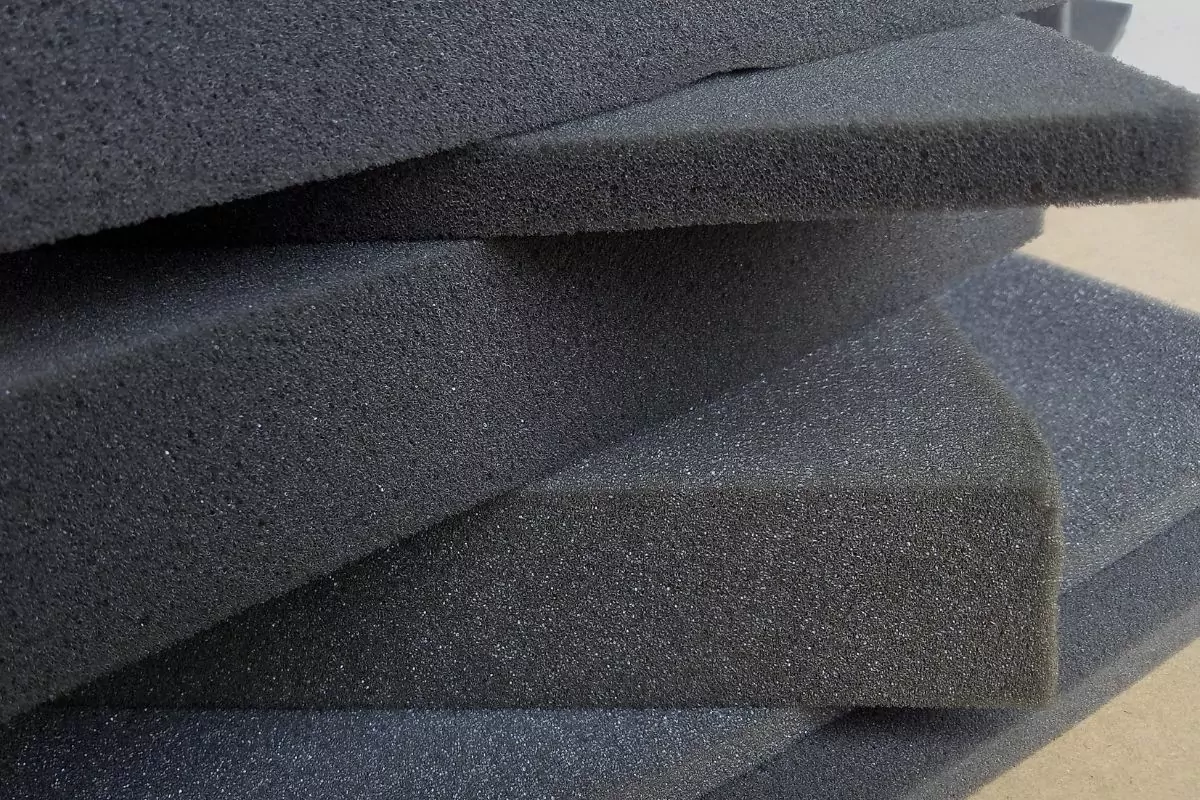
Foam are basically materials that are formed by trapping pockets of gas in a liquid or a solid form within the polymer of the foam.
There are many different kinds of foam, some of which you may not even consider foam – like leavened bread (yeast rises, releases gas, which becomes trapped in the bread) – but the one you are going to talk about when dealing with foam in your home or upholstery is probably going to be polyurethane foam.
This is the foam that you put in furniture, in comfy cushions, or in mattresses a lot of the time.
The only other really useful foam that you will be using in your home is the cementitious foam insulation, but since this comes in a liquid form at first, and you should not be cutting it without a professional when it is set, we won’t be covering this foam.
The polyurethane has different blowing agents introduced during the making of the substance, which cause a chemical reaction inside the material and pockets of gas to form.
This gives the foam an open cell structure, which makes it bouncy, comfortable, but also firm enough to hold a weight and retain its shape.
How To Cut Foam
Now, before we actually get to the cutting of the foam itself, there are a couple of things that you should be aware of.
The first is that you should always buy your foam from reputable places, as foam needs to be made to certain standards. These include making your foam completely flame retardant by treating it in production.
Untreated foam is not flame retardant and will catch on fire very, very quickly from the slightest bit of heat or spark of fire. As such, you need to make sure you buy the right foam.
Next, if you buy said foam and are not using it for a while, store it properly. Foam is durable, but it might not be able to stand up to a Wisconsin winter, so when you store it make sure it is in a secure, dry place.
With that out of the way, let’s move onto the other steps you need to take:
Measure And Marking
For this first step, you need to remove the foam from any casing it may be in. You may think this is an obvious step, but you would be surprised at how often it is forgotten.
Then you need to get a measuring tape and a marker – ideally you want it to be a color you can see clearly against the foam, normally this means red or black.
If you want to cut the foam in half, then you will need to measure from one side of the foam to the other, then divide that total measured number in two and mark it before cutting.
If you want to cut a certain measurement, you simply need to mark that distance when you have measured it.
When measuring, make sure to measure at least twice before cutting or marking and that you do not press down on the foam to distort the measurement.
Once you have measured and marked a spot on the foam, grab a ruler. Use the ruler to keep marking all the way up the line you will cut along to make sure this line has a completely straight edge.
If you are not cutting a straight line, then make the shape you are cutting on a piece of paper first, then cut it out.
Once done, trace the shape onto the foam using the paper as a guide. Do not try to freehand measurements, it never works out like you expect.
Cutting
Once you have finished all your measurements, place the foam on an elevated surface where the area that is marked does not have anything underneath it while the rest does.
For example, if you have to cut a corner off, don’t have anything under that corner, but if you have to cut directly down the middle of a large foam block, put it on two tables with a gap between them where you are going to cut the foam.
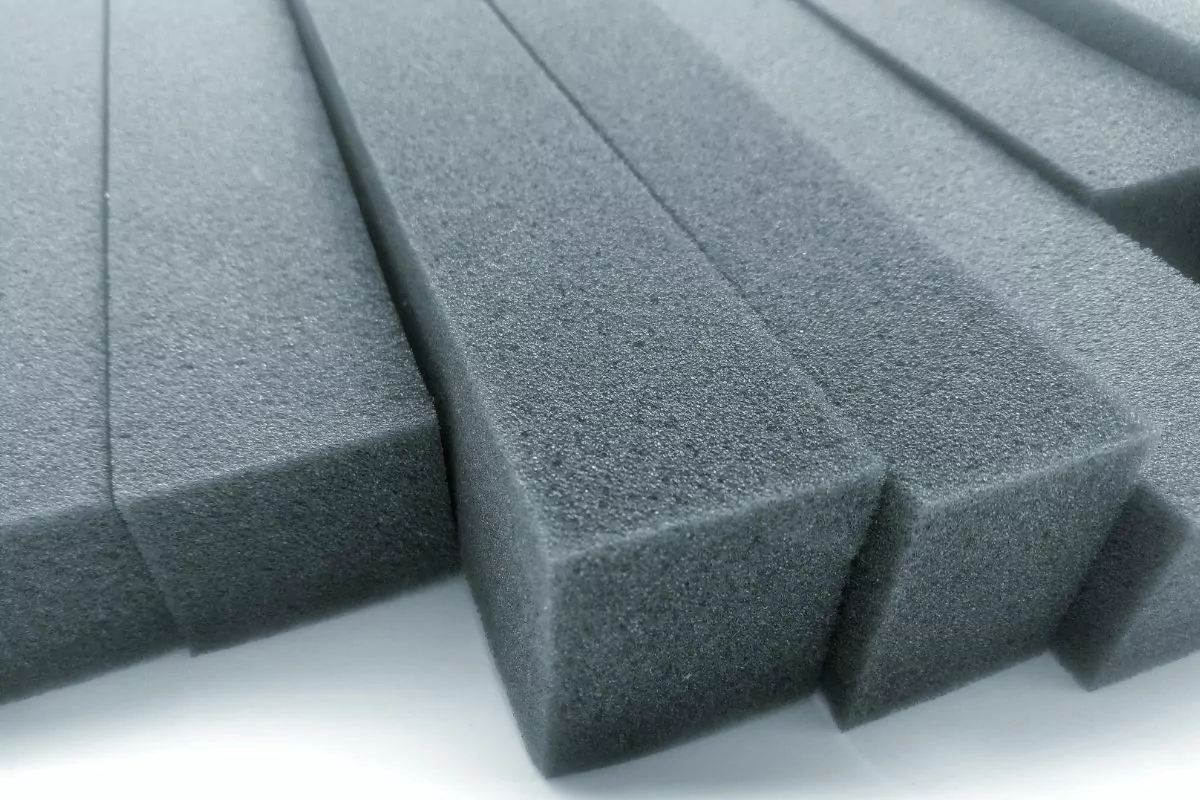
The best DIY tool for the job of cutting is an electric carving knife, but a simple serrated knife will do the job as well. Hold the knife at a 90-degree angle to the foam and cut in a straight forward up and down motion.
Don’t worry if the knife doesn’t go all the way through, finish cutting what you can on one side, before flipping the foam over and doing the other side.
Then you are done. It will not look too pretty, but it will be functional and considering the foam will be in a casing most of the time, you don’t need it to look pretty.
Conclusion
Foam is not a difficult thing to cut, but it is important to keep in mind the steps that you have to take to do it properly, or you could end up with a mess.

Hi, my name is Joel Adams and I like to think of myself as a professional DIYer. Whatever odd jobs a person needs to be done around the house, I’m their guy.
I’m talking shelves, making sideboards and tables, painting feature walls… the list is neverending!
- How To Drill Into Brick? - October 31, 2022
- How To Repair And Refinish Hardwood? - October 31, 2022
- Floetrol – What Is It? When To Use It: Complete Guide - October 31, 2022