If you have recently started to do more DIY around the home, you are probably learning invaluable skills every day.
From placing nails into the wall to repairing old floorboards, it is important to know how to perform each one safely and correctly.
One key DIY skill is to know how to drill into brick. This is required for all sorts of home improvement projects and, luckily, it is a pretty easy skill to learn.
From installing a curtain pole to putting up a shelf or mirror, you will need to learn how to drill into brick properly beforehand.
If you are new to the DIY game, it may seem quite overwhelming having to learn so many skills.
But, by focusing on one at a time, you will soon get the hang of it and become a DIY master.
Drilling into brick is typically much easier than drilling into plasterboard. All you need is a top-quality cordless drill, and some other toolbox essentials to get started.
Read on as we guide you through the steps of drilling into brick so you can tackle and complete your next DIY project with confidence and ease.
The Drill To Use
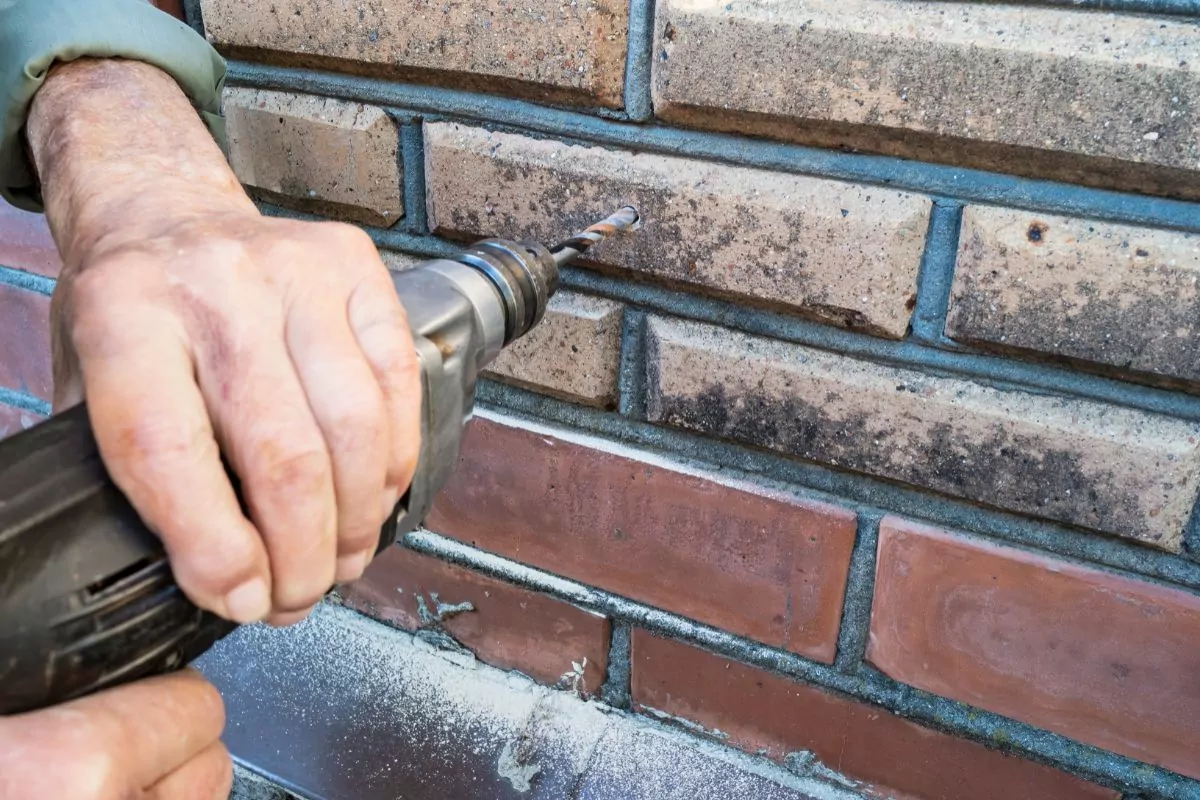
To drill into brick successfully, you will require a masonry drill. This has an arrow-shaped, wide head that usually comes with a range of lengths and thicknesses.
What you use, though, depends on the project you’re working on. The question is, “how do you choose the right drill bit size?”.
Well, to start with, you will need to know what size screw you want to use and the rawl plug required.
If you have a set of drill bits, you can hold them up to the rawl plug you wish to use to get an estimate on the size needed.
The drill bit will need to be at least as large as the rawl plug. If not, you will not be able to insert the plug into the wall.
If the hole is a little bigger than the rawl plug, it should be okay. But, if it is too large, the rawl plug may rattle around inside the hole.
If it does not take to the hole properly, the fixing will be less secure, leading to it possibly falling out.
For softer brick material, you do not need to drill a very deep hole. In most cases, a cordless drill will be sufficient (just ensure it is set to its drill function).
Ideally, though, a drill with a hammer function is best for drilling into a masonry wall. When you use this type of drill, it will be able to burrow more easily into harder materials and substances.
Once you have got the right drill, drill bit size, and rawl plugs ready, it’s time to start drilling.
Drilling Into Brick – Step-By-Step Guide
Step One
The first step is to identify the type of wall you need to drill into. The age and type of the building will determine what the wall types are in most cases.
For exterior walls, brick or block are usually used, whilst internal walls can be made from either timber stud or brick walls.
You can find out by knocking on the wall. If the sound is hollow, it’s a good indication that you’re dealing with a stud wall.
Step Two
Another thing to do before you start drilling is to check if anything is behind the plaster.
We recommend using a detector to check if there are pipes or electrical connections present.
If you have renovated your home before or an electrician has re-wired it recently, you’ll probably have a good idea of where pipes and wires will be.
If so, you can go to step three. However, we recommend checking anyway, just to make sure and be on the safe side.
Step Three
Once all the checks are complete, it’s time to grab a pencil and mark a spot on the wall where you want to drill.
Therefore, you know exactly where to drill without making any mistakes. Also, we recommend placing some old sheets down on the floor below the drilling point.
Paintwork and dust can accumulate and be tough to clean on carpets and flooring. So, try to catch it and then use a vacuum cleaner or dust pan to clean up after.
Step Four
It’s time to start drilling. We suggest that you start by making a slight indentation on the marked spot before you start to drill.
Therefore, it shouldn’t move around on the surface and potentially cause damage. When it’s time to drill, hold it straight and level on the brick.
Your drill may have a spirit level built-in to show you how level you may or may not be.
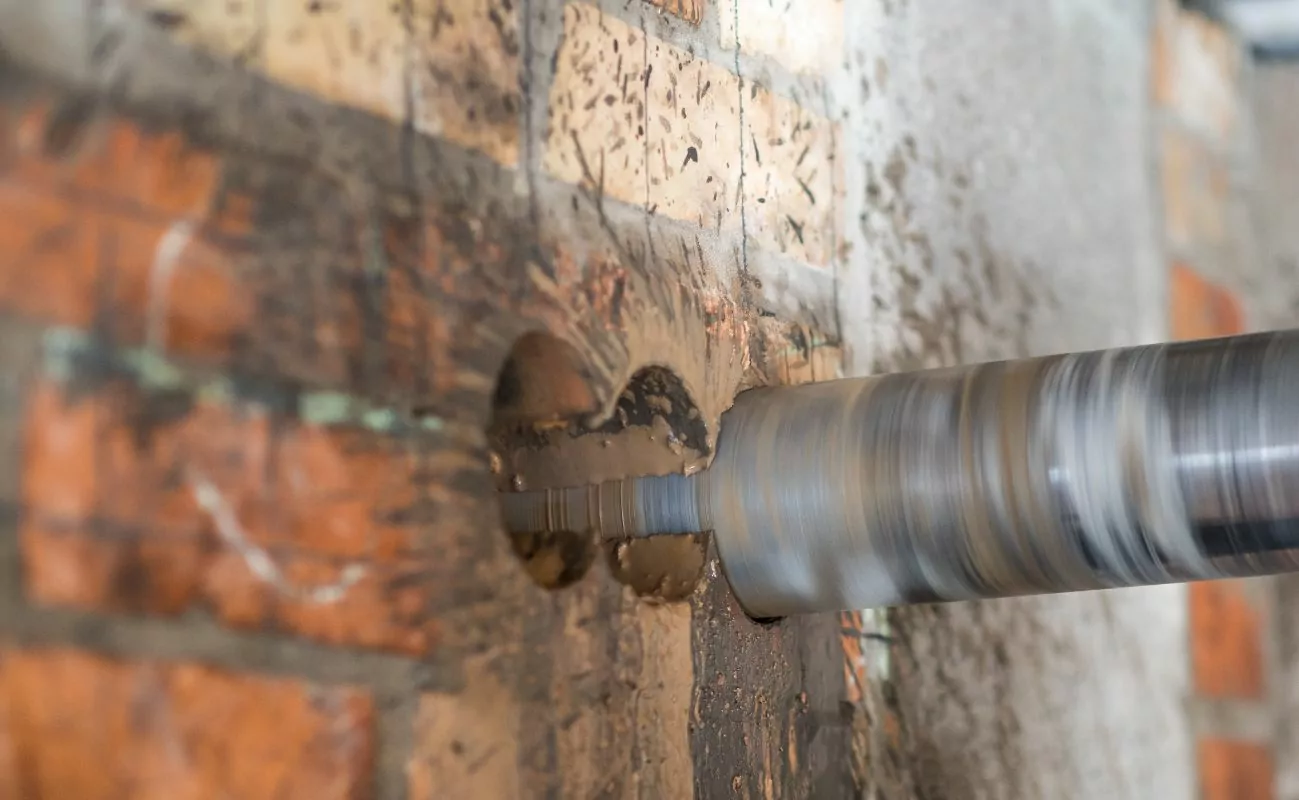
Start drilling into the brick slowly and carefully, putting pressure behind the drill and in toward the wall.
To check if you have drilled a hole that is deep enough, you can compare the measurement of your drill bit to the rawl plug.
Then, wrap some masking tape around the bit to mark it. Or, an easier option is to try putting the rawl plug into the hole.
Step Five
Once you have drilled the hole, you will probably find it has left some dust behind.
Clean up the brick dust from the newly drilled hole using a vacuum or dustpan and brush. The longer you leave it, the higher chance there is of marking your flooring.
Step Six
It’s time to insert that rawl plug. Simply place the plug into the drilled hole and knock it in with a hammer (you can also use a mallet if the fit is too tight).
Step Seven
Once the rawl plug is in and you’re happy it’s securely tight, you can go ahead and put the screw in.
You can do this with a screwdriver or a drill, depending on how large the screw is and how tough it is to do manually.
In Summary
And, it’s as easy as that! Thanks for reading our guide and good luck with your DIY projects!

Hi, my name is Joel Adams and I like to think of myself as a professional DIYer. Whatever odd jobs a person needs to be done around the house, I’m their guy.
I’m talking shelves, making sideboards and tables, painting feature walls… the list is neverending!
- How To Drill Into Brick? - October 31, 2022
- How To Repair And Refinish Hardwood? - October 31, 2022
- Floetrol – What Is It? When To Use It: Complete Guide - October 31, 2022