If you choose to paint the walls of your home, there are many steps you can take to ensure that you get the best and neatest result.
You will need the right tools and the right paint, and will also need to ensure that the paint is allowed to dry correctly.

However, probably the most important step when it comes to painting your walls is how you prepare your surfaces for the paint.
Not prepping your walls correctly, or not prepping them at all, can leave you with an uneven paint job full of drips and uneven color.
Before you even consider touching your walls with your paintbrush, you should make sure that your walls are prepared correctly.
In this article, we will look at how to prep walls for painting.
Why Should I Prep My Walls?
You might be wondering why you need to prep your walls at all. If you’re working on a tight schedule and need to get your renovations done as quickly as possible, you might be tempted to skip this step and go straight to painting.
However, no matter how constrained your timescale is, it’s worth taking that extra time and care if you want to get the best result.
You will need to live with your painted walls for years to come, so it’s worth ensuring that you have the neatest walls possible.
We would also advise that you remove as much furniture from the room as possible before you start. If you can’t remove the furniture, try to arrange it in the middle of the room and cover it with a protective sheet.
You will need full access to your walls to get the best finish and furniture will only get in the way.
How To Prep Walls For Painting
The best way to prep your walls for painting depends on the condition of your walls and how they were last used. We’ll go through several different scenarios and instruct you on how to best prep your walls in each one.
How To Prep A Newly Plastered Wall
If your walls have recently been plastered then consider yourself lucky as this is by far the easiest surface to prepare and paint.
Fresh plaster should be smooth and free of any cracks or dust so the amount of prep you will need to do is very minimal.
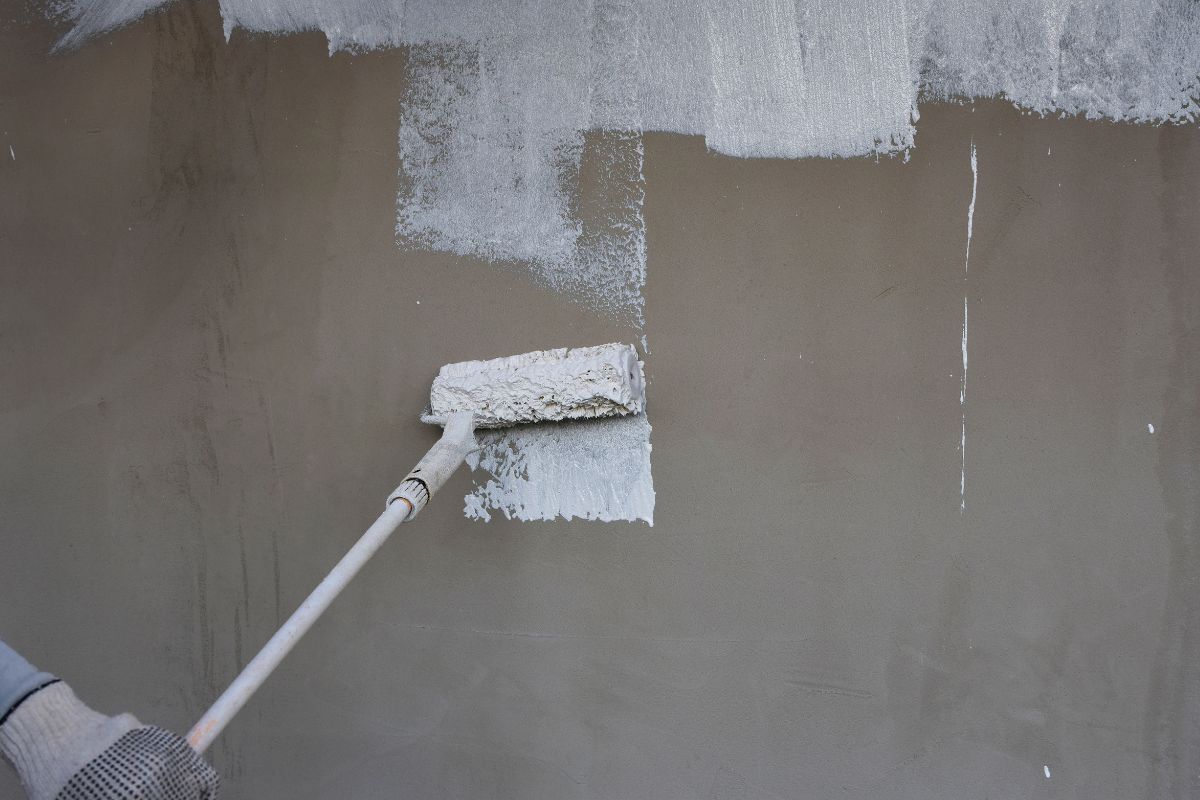
The first step you will need to take is to paint the walls with a coat of primer. If you don’t prime the walls before you begin painting, the plaster will soak up your paint and you’ll need to apply more layers of paint to get full coverage.
This is a waste of paint and time, so apply a primer and undercoat before you being painting with your color.
Make sure that your plaster is fully dry before you being painting. You can usually see quite easily if the plaster is dry or not as when dry, there will be no dark patches and the plaster should be a uniform shade of light pink or gray.
How To Prep Walls With Wallpaper
You can just paint over the wallpaper if you wanted to, but we wouldn’t recommend doing this.
There’s no guarantee that you will get a good finish if you paint over wallpaper so the best course of action is to remove the wallpaper so that you can paint directly onto the wall.
If you’re lucky, you might be able to simply peel the wallpaper off the wall. This is often possible with wallpaper that has been hung by pasting the wall instead of the wallpaper.
However, if the wallpaper has been hung by pasting the wallpaper instead, removing it can be a tricky and frustrating task. You will need to remove all of the wallpaper to get a smooth surface.
We advise that you score the wallpaper with a sharp stripping knife and then soak the wallpaper with some hot water.
You should only dampen small parts of the wall at a time and allow the water around five minutes to sink in and soften the wallpaper. This will make it easier to strip the wallpaper from the walls.
You need to make sure that you get every piece of wallpaper off your walls, no matter how small. There are some special solutions made for removing wallpaper if you find it particularly tough.
How To Prepare Older Painted Walls
Walls that have already been painted once can often be easy to paint with a different color. We would recommend that you take a few steps to make sure that you get the best finish, however.
You should check the walls and the paint to see if there are any holes or cracks. If there are, these need to be filled. Your first step should be to use some sugar soap to clean the gaps and holes of any dust that might have accumulated in them.
Once this has been done, use a flexible filling knife to fill the holes and cracks with some flexible filler. After the filler has dried, you can sand away any excess to leave a smooth surface.
You should always sand down painted walls ready for a new coat of paint. This helps the new coats of paint stick to the wall better than they would if the surface was smooth and glossy.
After you’ve finished sanding, make sure you clean the walls with a sugar soap solution and then rinse with warm water.
This will remove any grease or fingerprints that can interfere with your paint. Let the walls dry completely before you start painting.
Final Thoughts
In this article, we explained why it is important to prep your walls before painting them. We also gave instructions on how to correctly prep several types of walls to ensure that you get the best finish possible.
We hope the information and hints and tips in this article will help you prep your walls for painting.

Hi, my name is Joel Adams and I like to think of myself as a professional DIYer. Whatever odd jobs a person needs to be done around the house, I’m their guy.
I’m talking shelves, making sideboards and tables, painting feature walls… the list is neverending!
- How To Drill Into Brick? - October 31, 2022
- How To Repair And Refinish Hardwood? - October 31, 2022
- Floetrol – What Is It? When To Use It: Complete Guide - October 31, 2022