A kitchen island and countertop are two features that give a kitchen an attractive and fashionable look.
They give the home a light, contemporary feel.
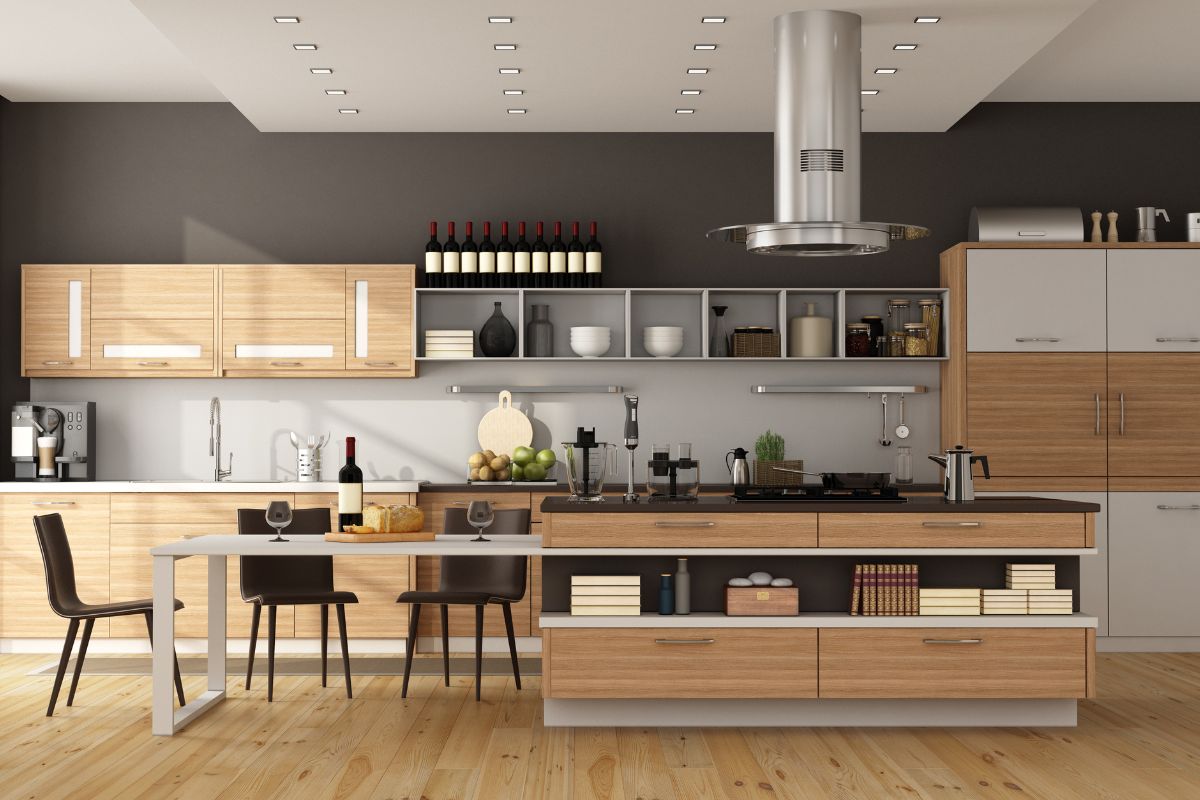
In addition to helping with the cooking, they also act as gathering places.
And because of their functional placements in kitchens, these lovely pieces of furniture have evolved into the room’s core and main focal point.
You will discover how to construct a contemporary DIY kitchen island in this article, along with all the factors you should take into account before beginning your kitchen DIY project.
First Factors To Consider
Placement And Size
Before you make a start on your DIY kitchen island, you should first decide how big you want your island to be, as well as the placement within the kitchen, especially if you want to add some extra storage with it.
With that being said, a kitchen island’s dimensions actually depend on the area surrounding it and not the island itself.
You should create an access room of around 35 inches to 50 inches around the island.
Problems will arise if you build your island too close to other kitchen cabinets; your cooking area will start feeling cramped and you’ll struggle to move around comfortably.
If you build it too high, you and other household members might have difficulty reaching for items you need.
Before implementing your DIY kitchen island ideas, also take into account the type of base cabinets that will meet your storage needs: for conventional stock cabinets, a depth of 23 inches will be sufficient, while for back-to-back base cabinetry, a depth of 47 inches will be suitable.
Additionally, if you want your counter to double as a breakfast bar, leave around 10-15 inches of space for leg overhang.
Shape
The next step is to choose the purpose and structure of your kitchen island after deciding on its size and location.
Your island’s shape is initially influenced by the size, shape, and configuration of the space.
The room’s layout and traffic patterns to and from the doors are further issues to consider.
After you’ve figured out the layout, you can choose between an L-shaped, T-shaped, or rectangular kitchen island.
Generally speaking, rectangular islands are the preferred choice – especially if you want to place a refrigerator under the counter.
Function
This will determine whether or not the island will have a hob, act as a breakfast bar, or if you simply need one to improve the look of your home.
Therefore, you’ll likely need a countertop clearance of 13 to 15 inches around a hob if you’re planning to install one on your kitchen island.
Both homeowners and tenants frequently sit on the island and dine at its counter.
You might want to think about making yourself a raised coffee table, breakfast bar, or a standard table-high surface if you’re going to be doing this.
Storage
As a supplement to the kitchen cabinets, kitchen islands are frequently built for storage purposes.
The type of base cabinets that will fit inside your kitchen island, nevertheless, will depend on the island’s intended use.
Therefore, the drawers can be designed to house spices, culinary tools, and cooking hardware if your island will have a hob.
It will be a good idea to have the dishwasher and trash cans in the kitchen island if it will house the washing-up sink.
On the island, compartments for holding dishcloths and detergent can also be created.
How To Build Your Own Kitchen Island: Step-By-Step Guide
Mark The Area
First, mark the spot where your kitchen island will be positioned and take the measurements for its dimensions.
Assemble Your Kitchen Cabinets
For this step, you can either make your own DIY kitchen cabinets, repurpose your old kitchen cabinets, or simply purchase some new ones.
Once you have your cabinets, mount them on the spot you marked out for your kitchen island.
Be sure to use a spirit level to ensure that the cabinets are on a level plane.
If they’re not level, you can adjust the height by twisting the cabinet’s feet.
Screw Your Kitchen Cabinets Together
Clamp both cabinets with a G clamp or a makeshift one that you have.
Once clamped, attach the cabinets together by screwing through where both sides of the cabinets meet, using pre-drilled holes.
Construct The Outer Walls
To construct your side panels, cut plywood to fit the length and width of both sides, and repeat this for the front panel.
Make sure to leave enough room for any storage solutions you’ll be installing.
Attach The Side And Back Panels
For the best support, lay the three panels next to the cabinets and screw two L-shaped brackets to each of their feet.
Next, clamp the side panels to the cabinets and position the back panel between them, using a tape measure and spirit level to ensure they are level and plumb.
You can make minor adjustments with shims if they are not.
Screw The Panels To The Floor
Slide the kitchen cabinets out from the panels, leaving only the outer walls in place.
Then, screw the L-shaped brackets onto their feet.
This should leave you with at least six L-shaped brackets.
Install The New Kitchen Cabinet
Slide the cabinets back into the space between the sides and back panels, and use one more L-shaped bracket to screw the cabinet to the back panel with a nail gun.
Attach The Side Panels To The Base
Use the pre-marked nail holes to drill through the stock cabinets from the inside, making sure you use a drill diameter that’s not as wide as the screws.
Then, screw through to the end panels.
Fit The Plinth
Place the plinth at the front feet of the cabinet, then mark the center points of the feet on the board.
Screw the brackets halfway up the ends of the plinth, slide in the clips, and clip the plinth onto the legs.
Fit The Countertop
Get your countertop and place it in the position you’d like.
Next, drill holes at the edges of it, close to where the points meet the cabinet.
Use more L-shaped brackets to attach the countertop to the cabinets, and you’re done!
Final Thoughts
Building your own kitchen island is so rewarding, and doing so means you can tailor it to exactly what you like.
Use this guide to help you start your kitchen remodeling project and get that kitchen island installed.

Hi, my name is Joel Adams and I like to think of myself as a professional DIYer. Whatever odd jobs a person needs to be done around the house, I’m their guy.
I’m talking shelves, making sideboards and tables, painting feature walls… the list is neverending!
- How To Drill Into Brick? - October 31, 2022
- How To Repair And Refinish Hardwood? - October 31, 2022
- Floetrol – What Is It? When To Use It: Complete Guide - October 31, 2022